Your Settings
If you are hosting your email with our preferred hosting company, Rackspace Cloud, the settings for your email server are as follows.
Incoming server: secure.emailsrvr.com
Outgoing server: secure.emailsrvr.com
Username: Your full email address
Password: This will be sent to you separately
Setting up a new account in Apple Mail
- Open Apple Mail and in the menu, click Mail > Preferences
- Click the Accounts setting
- Click the + (Create an account) button
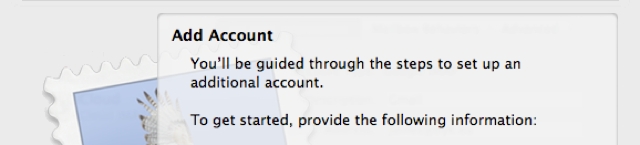
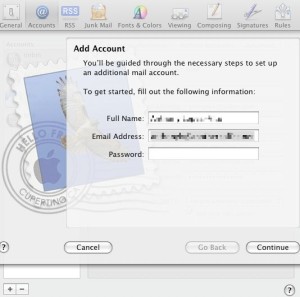
- The Add Account settings will appear
- Enter your Full Name, Email Address and Password, then select Continue
- Set the Incoming Mail Server settings
- Select Continue and if the details you entered were correct, it will take you to the Outgoing Mail Server screen
- Set the Outgoing Mail Server settings
- Select Continue and if the details you entered were correct, it will take you to the Account Summary screen
- Select Take account online and click Create
- Close the Account Settings by clicking the red close button on the top-left of the screen.
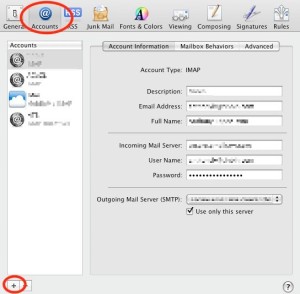
Account type: select IMAP
Description: this is up to you but I suggest you enter your company name
Incoming Mail Server: type secure.emailsrvr.com
User Name: type your user name
Passwrord: type your password
Description: this is up to you but I suggest you enter your company name
Outgoing Mail Server: secure.emailsrvr.com
Check Use only this server
Check Use Authentication
User Name: type your user name
Password: type your password
If the tests at step 7 or 9 failed, the most likely reasons are:
The user name was entered incorrectly. For example, you may have only entered the part before the @ sign. On our system, the user name is made up of the while email address. e.g. [email protected]
The password was entered incorrectly. If you copied and pasted from an email, you may have inadvertently included a space character.
Editing an existing account in Apple Mail
- Open Apple Mail and in the menu, click Mail > Preferences
- Click the Accounts setting
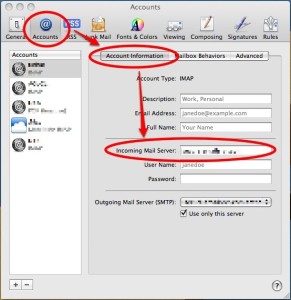
- Select the Account Information tab
- Set Incoming Mail Server to: secure.emailsrvr.com
- Under Outgoing Mail Server, click the drop-down and select Edit server list
- Click the + button and a new server should appear (a grey note to ‘Double-click to enter’ should appear in the Server Name column.
- Double-click it and enter: secure.emailsrvr.com
- Select Advanced
- Use these settings
- Click OK
- Make sure secure.emailsrvr.com is set under Outgoing Mail Server
- Close the Mail preferences window
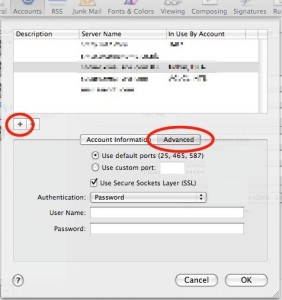
Set the Use default ports option
Check Use Secure Sockets Layer
Authentication: Password
Enter your usual username and password